
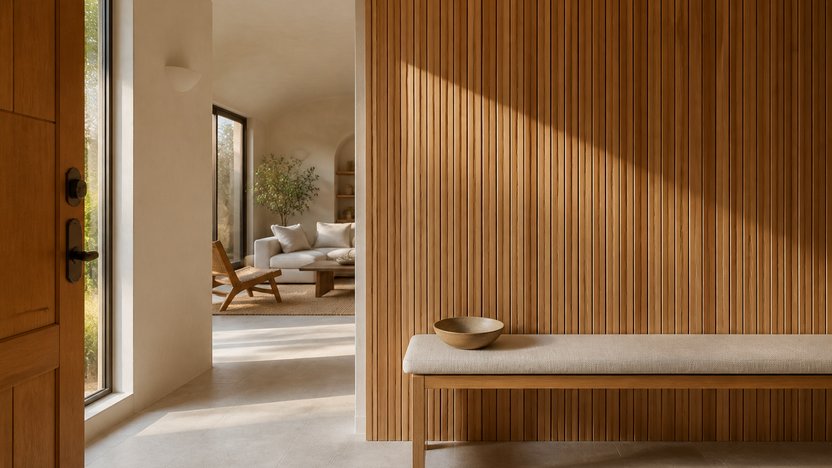
20 Interior Wood Slat Wall Ideas for Rich Texture and Warmth at Home
From the doorway, a visitor notices the honey-colored wood first, then the slim shadows running up the wall. Before shoes come off, the room already has a distinct personality. That is the appeal of Interior Wood Slat Wall Ideas: texture that reads across a room, with details you appreciate up close. You might want an oak entry panel, a walnut backdrop behind your bed, or pale painted strips around a breakfast nook. The right spacing and finish can shift a plain wall toward cozy, crisp, or quietly dramatic.
1. Frame Your Entry With Honey Oak
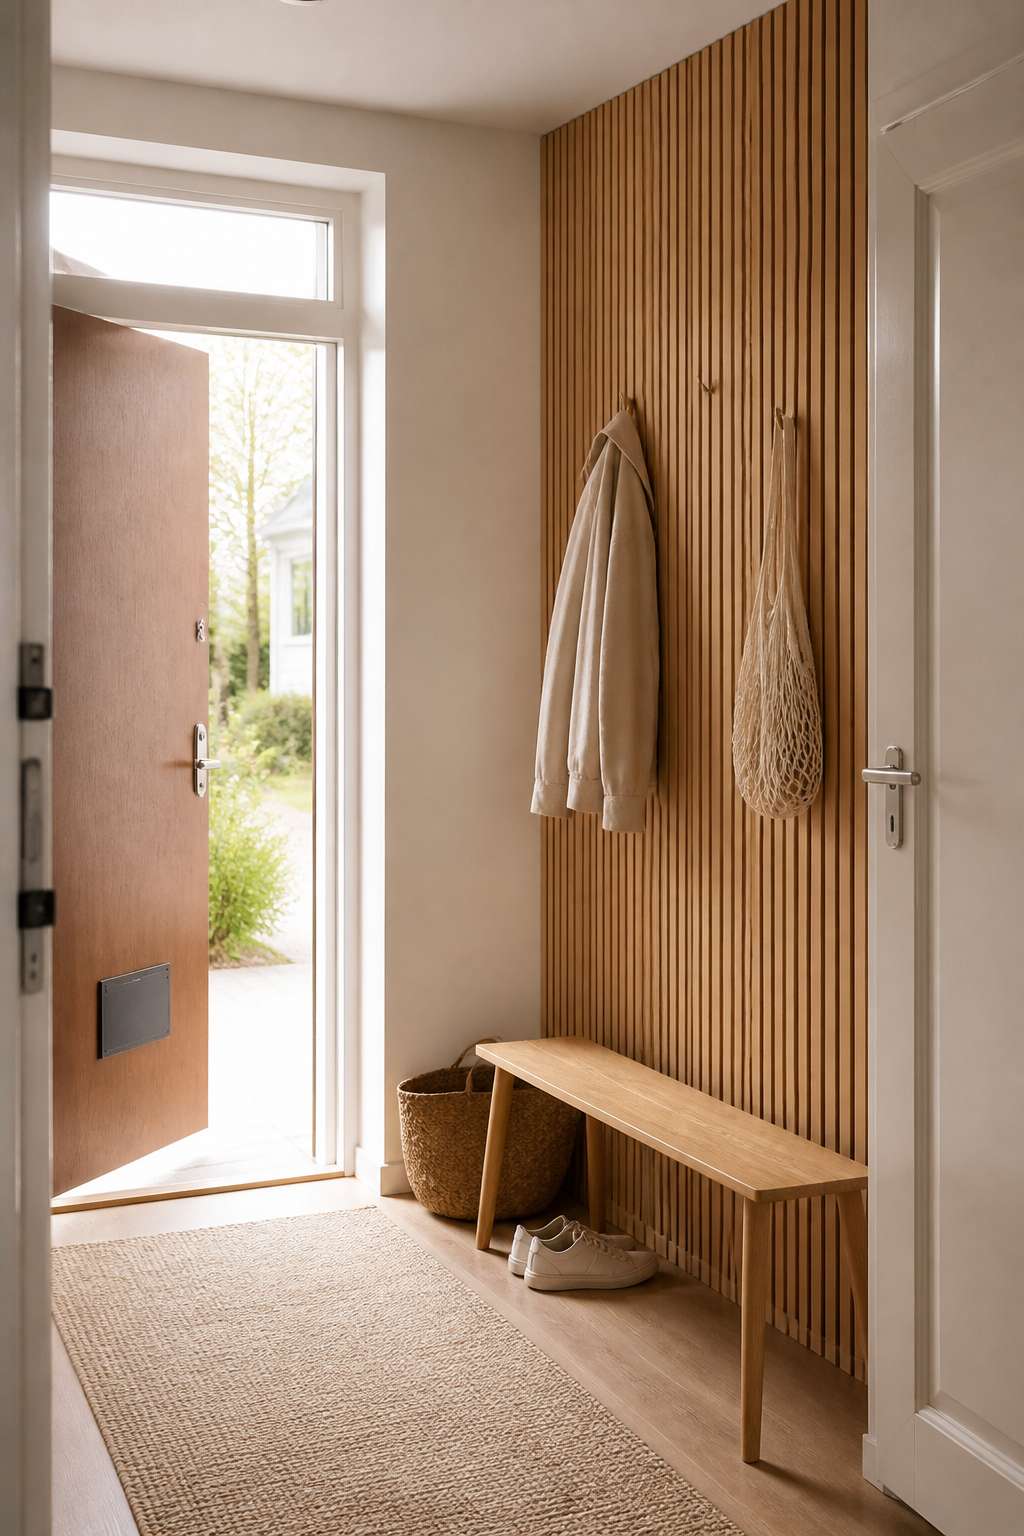
Honey oak slats establish a welcoming rhythm beside the front door. Against a warm white wall, their narrow shadows highlight the wood grain, while a small bench below offers a natural landing spot for everyday arrivals.
Leave a gap equal to one slat width for an open pattern. A scrap block cut to that width works as a spacer throughout installation, including the final few strips.
2. Anchor the Bed With Dark Walnut
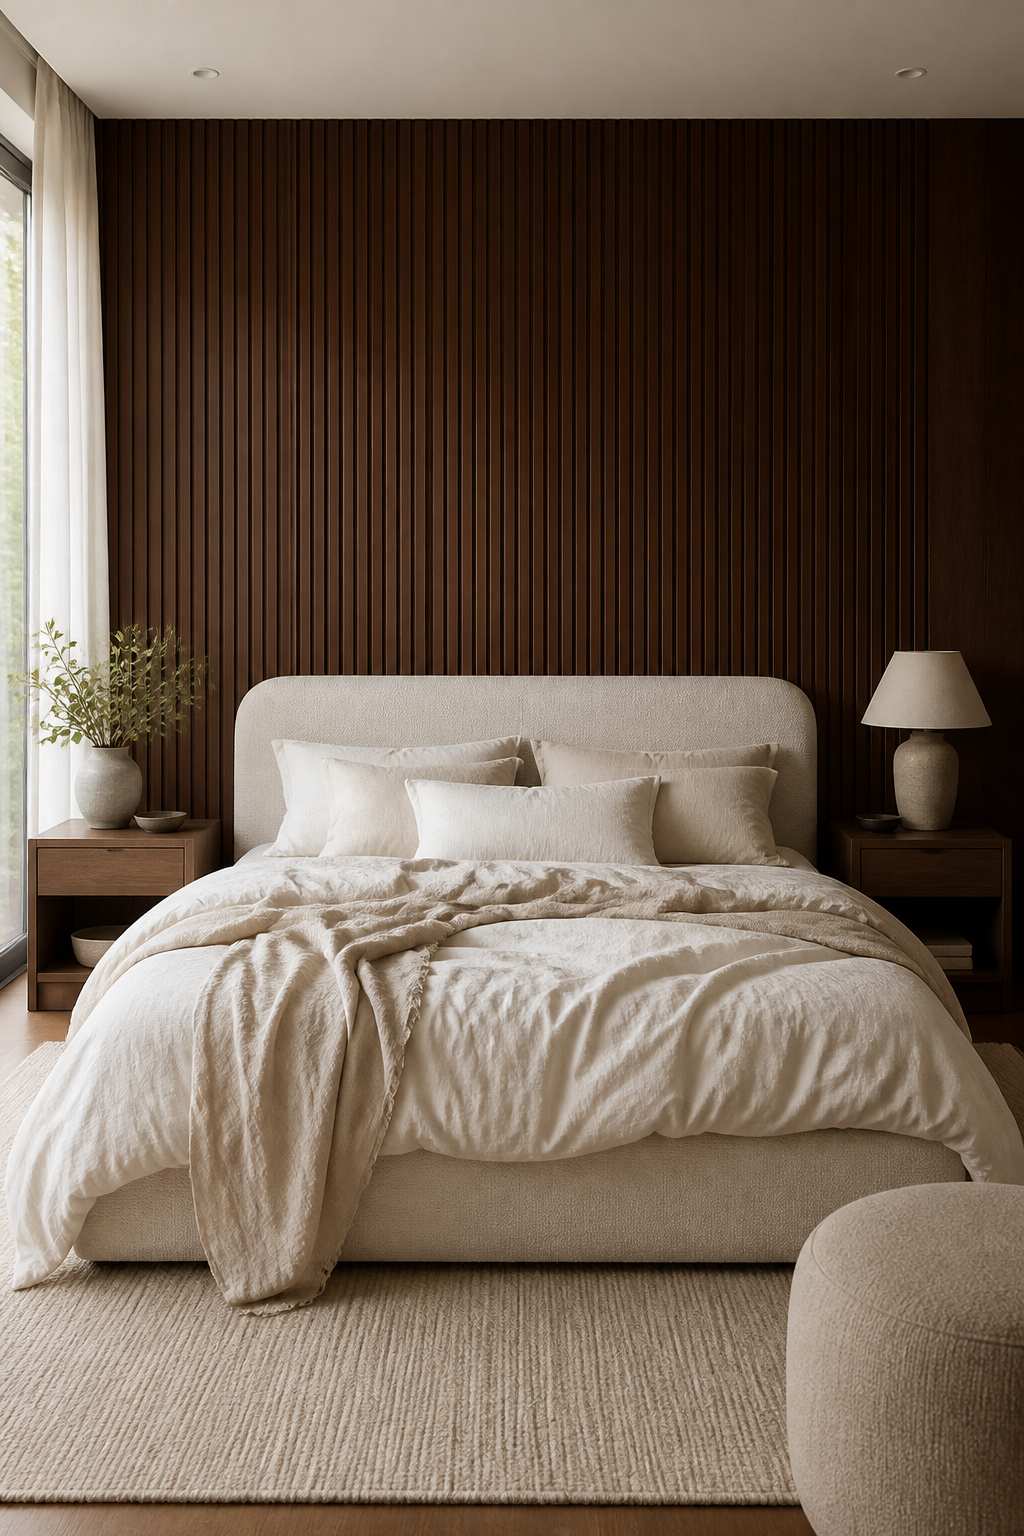
Deep walnut slats stretch behind the bed, setting off oatmeal linen and chalky white walls. The dark grain anchors the sleeping area, so even a simple upholstered bed looks deliberate against the rich, linear backdrop.
Extend the slatted section at least six inches beyond each nightstand. That extra width frames the whole bed arrangement rather than leaving the furniture visually crowded against the panel edges.
3. Run Pale Pine Slats Horizontally
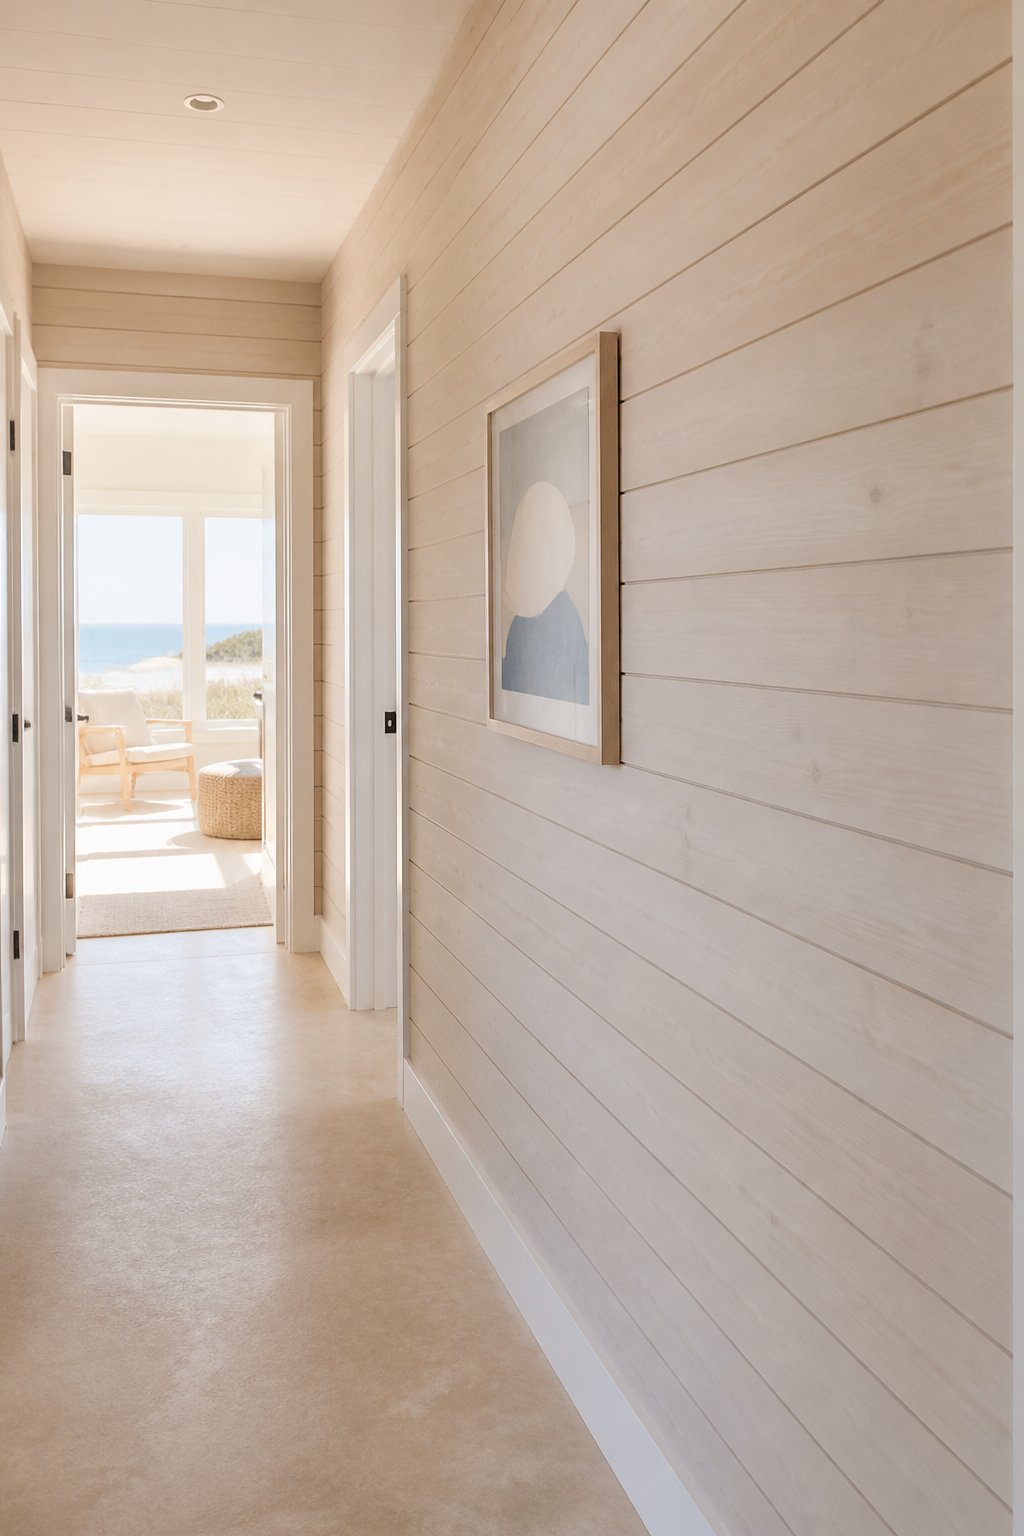
Horizontal pine strips draw the eye along a narrow hallway instead of straight toward its end. Their pale knots and long lines introduce a casual coastal character, especially beside white trim and sandy beige flooring.
Stagger butt joints across different wall studs rather than stacking them in one column. Cut ends square, and sand away splinters before finishing so the seams remain neat up close.
4. Paint Breakfast Nook Slats Sage Green
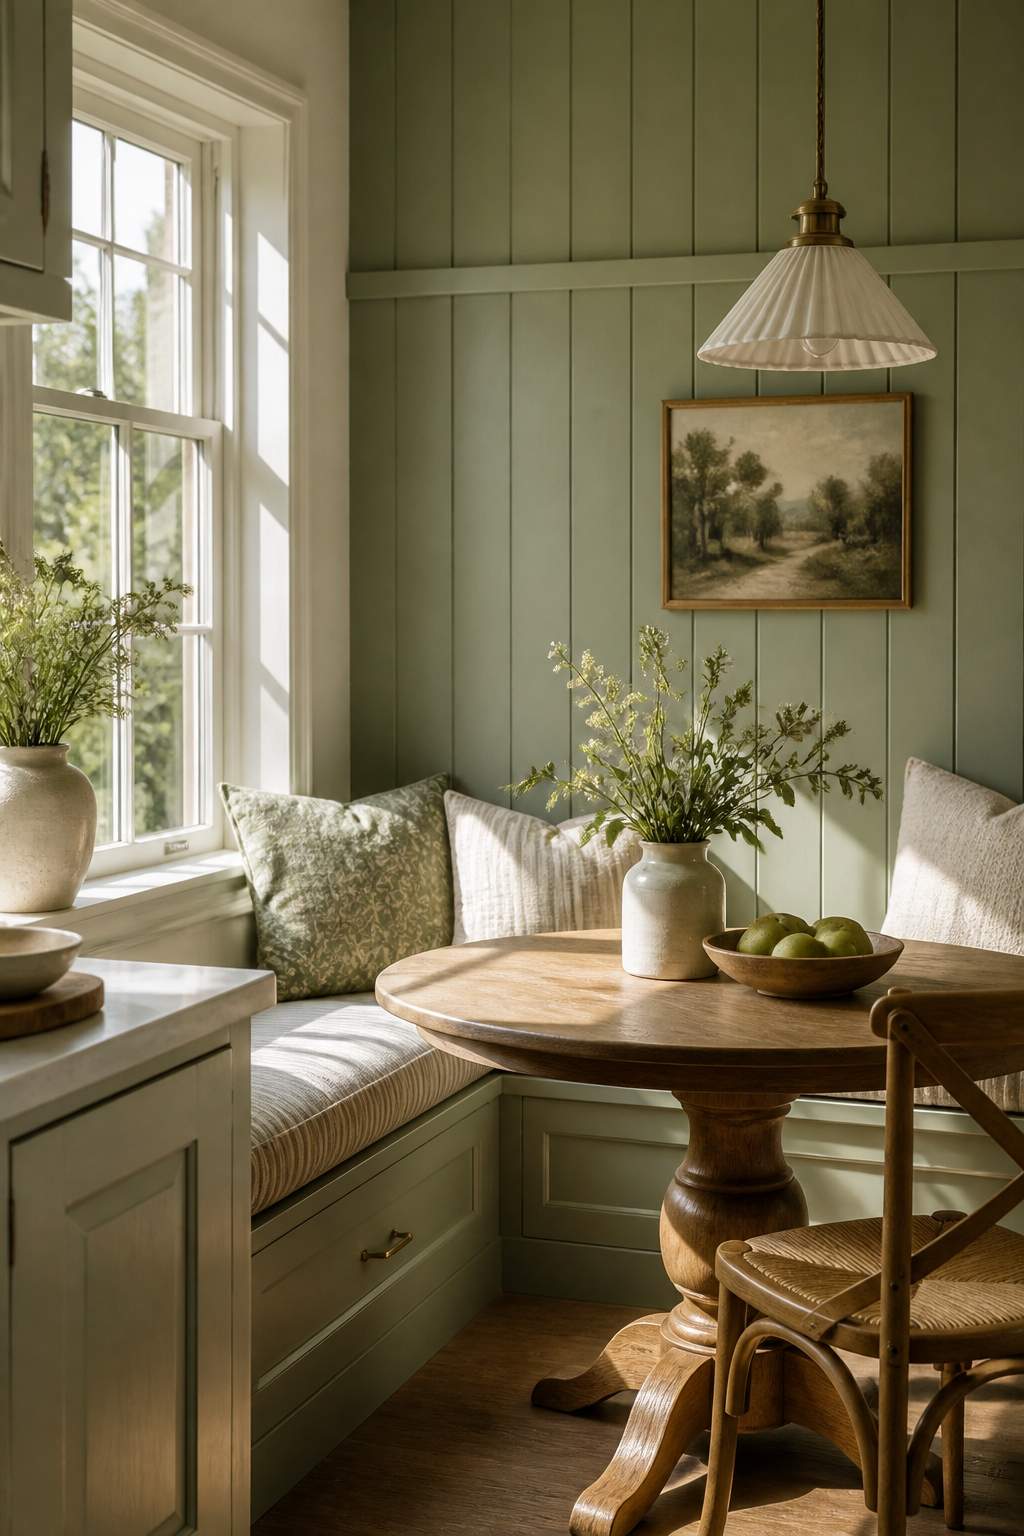
Sage green slats wrap the wall behind a breakfast bench, pairing cottage texture with a calm, painted finish. A round oak table and striped seat cushion interrupt the repeated lines with curves and familiar fabric.
Prime and paint the strips before attaching them, including both narrow edges. Exposed edges are difficult to coat evenly once the slats are installed with small gaps between them.
5. Outline the Television With Blackened Wood
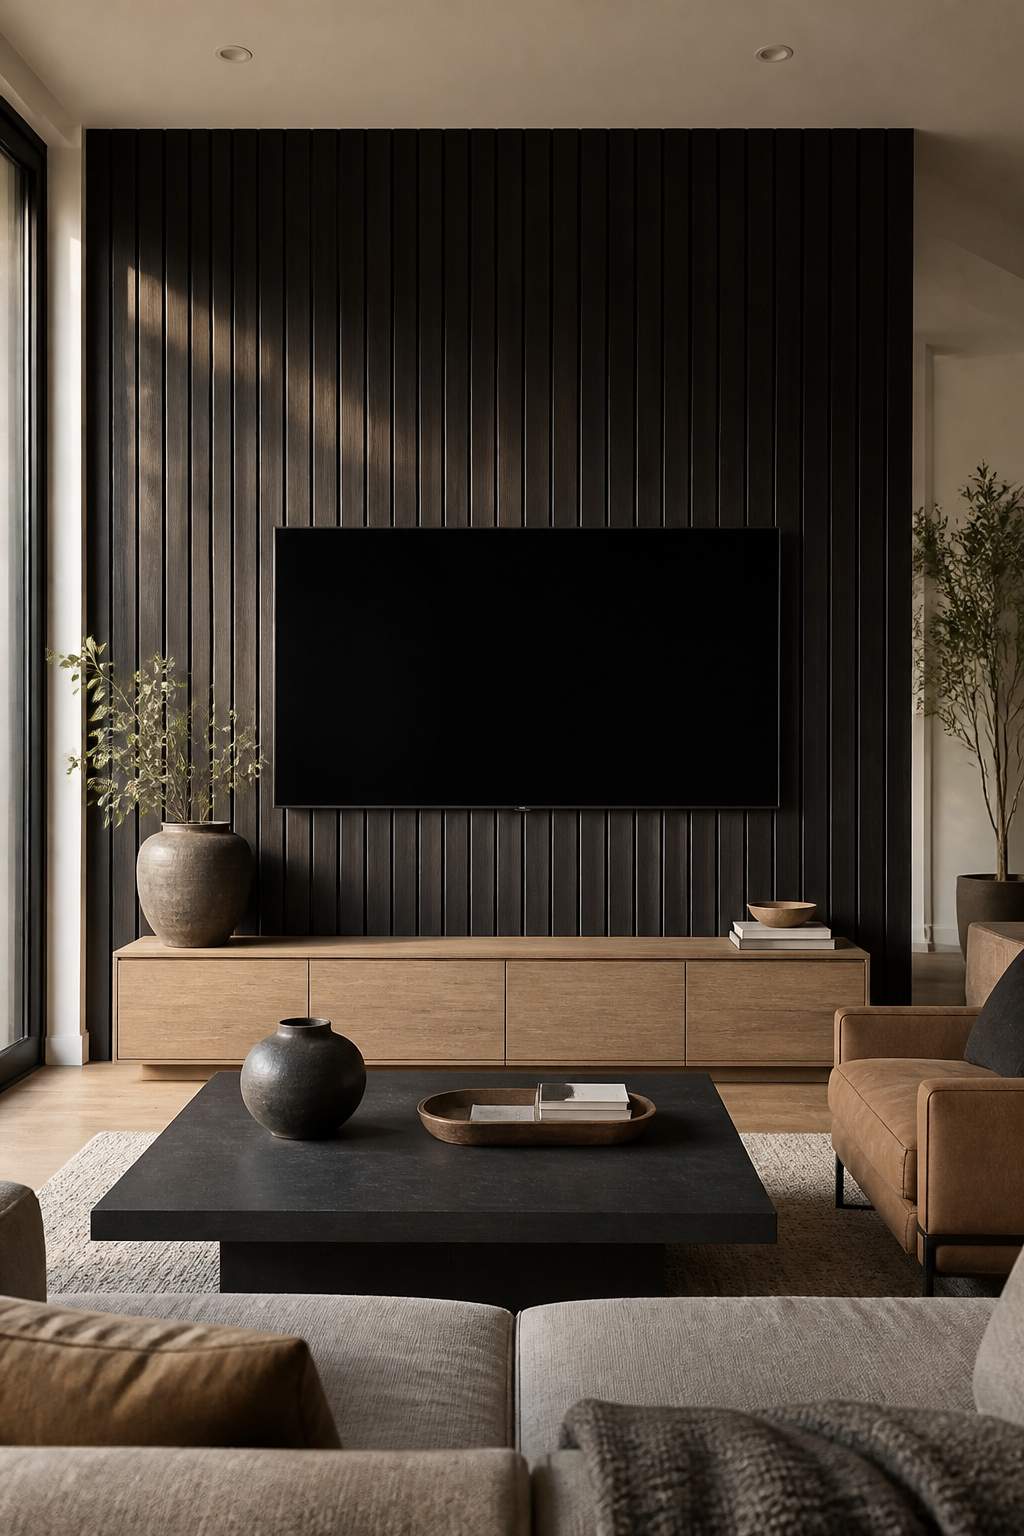
Charcoal-stained wood slats form a dark field behind the television, reducing the contrast between its black screen and the wall. A low oak console balances that moody surface with a warmer, more substantial horizontal shape.
Install the television bracket into studs or structural blocking, not the decorative slats alone. Plan a recessed cable route before paneling so cords do not interrupt the narrow wood lines.
6. Separate Rooms With an Open Screen
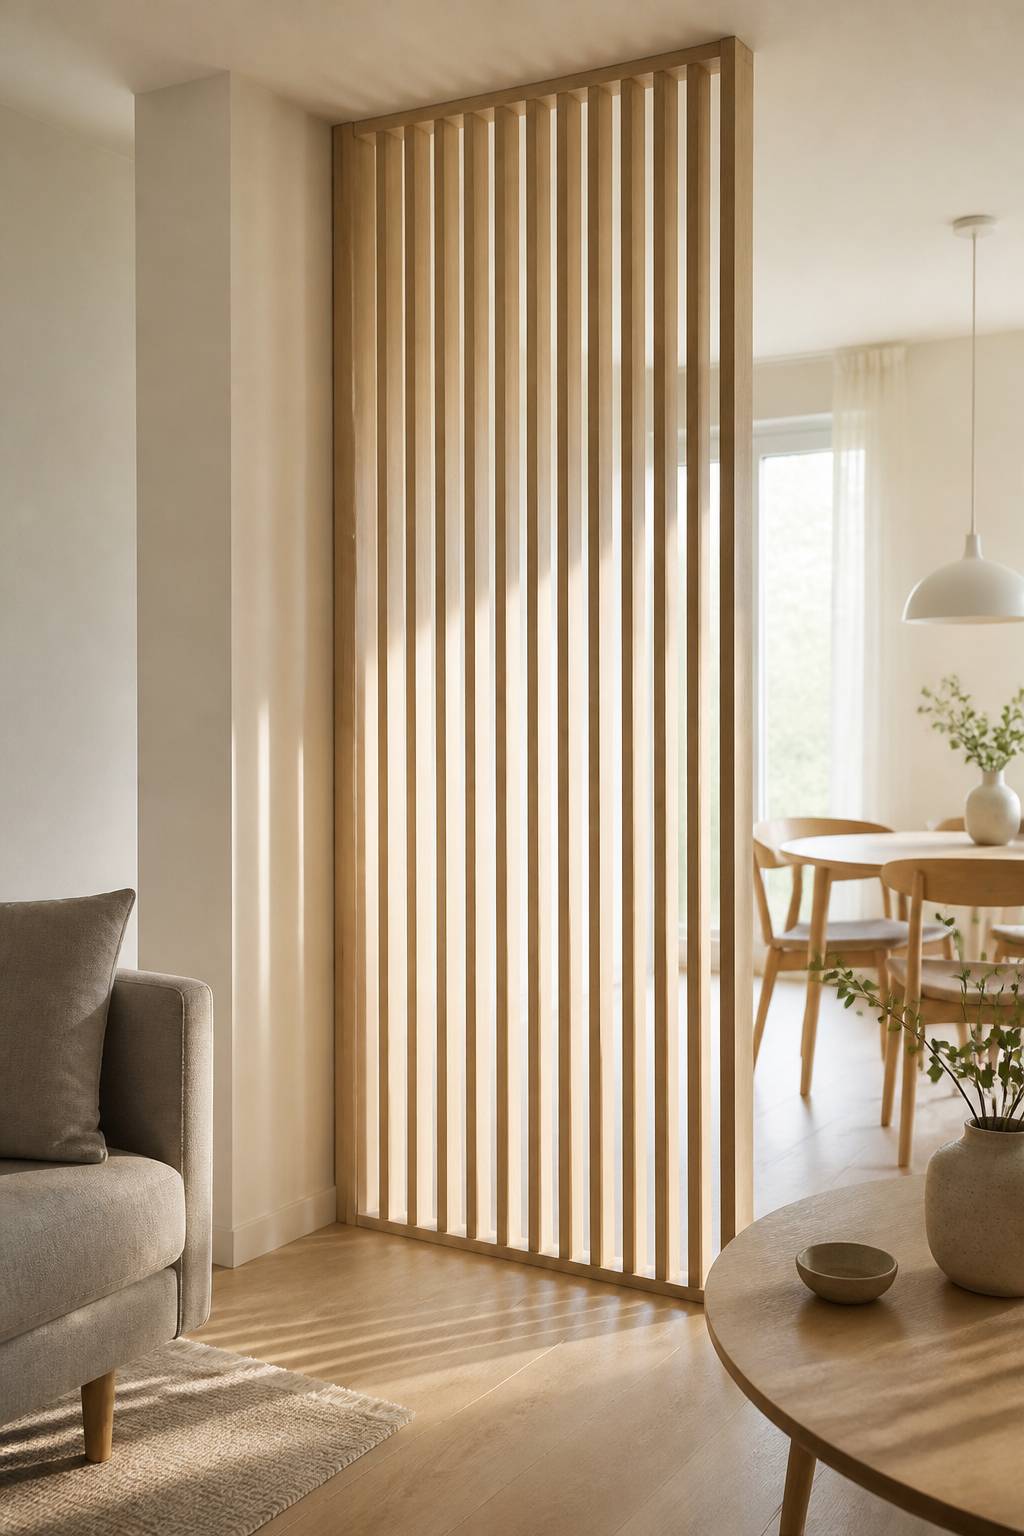
An open ash slat screen marks the boundary between living and dining areas while preserving views through the room. The pale vertical pieces cast changing stripes across the floor, offering definition rather than a solid barrier.
For a nonstructural screen, fasten the top and bottom rails into ceiling joists and floor framing. Locate those attachment points before deciding exactly where the divider will stand in the room.
7. Wrap a Corner in Warm Cedar
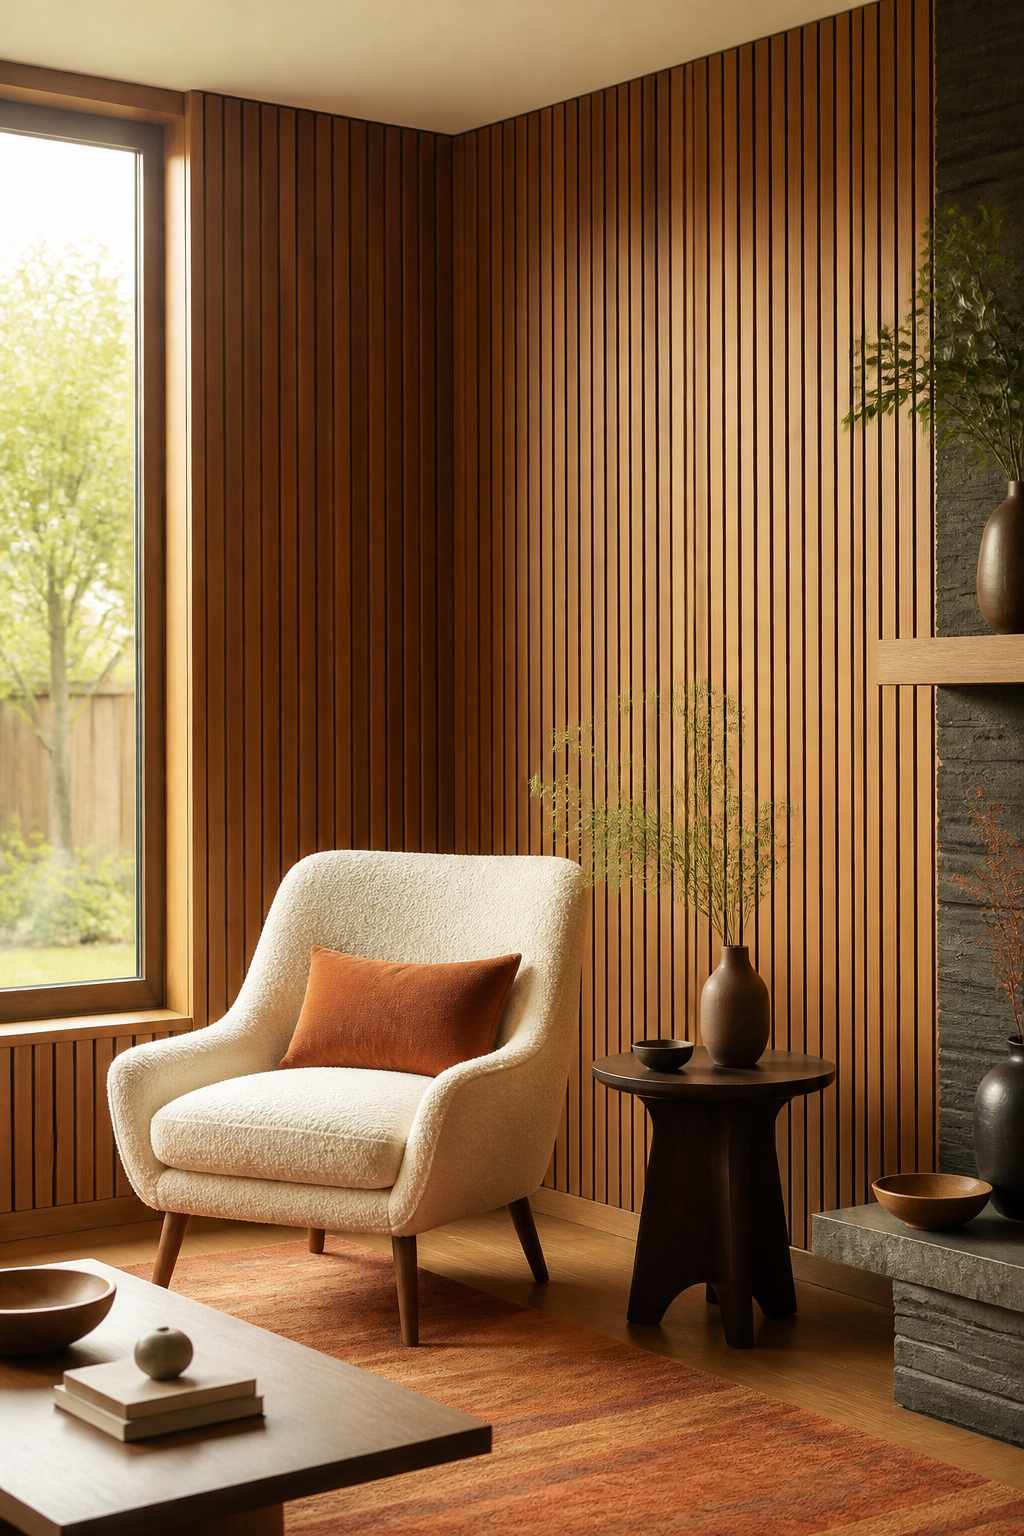
Warm cedar slats continue around a living room corner, creating a wood-lined pocket for a reading chair. The reddish grain contrasts with a cream boucle seat, and the wraparound detail looks more architectural than a single panel.
Use a square corner trim piece where the two slatted walls meet. Butt the strips against it, leaving the same gap on both sides for a consistent rhythm around the corner.
8. Build a Half-Height Mudroom Backdrop
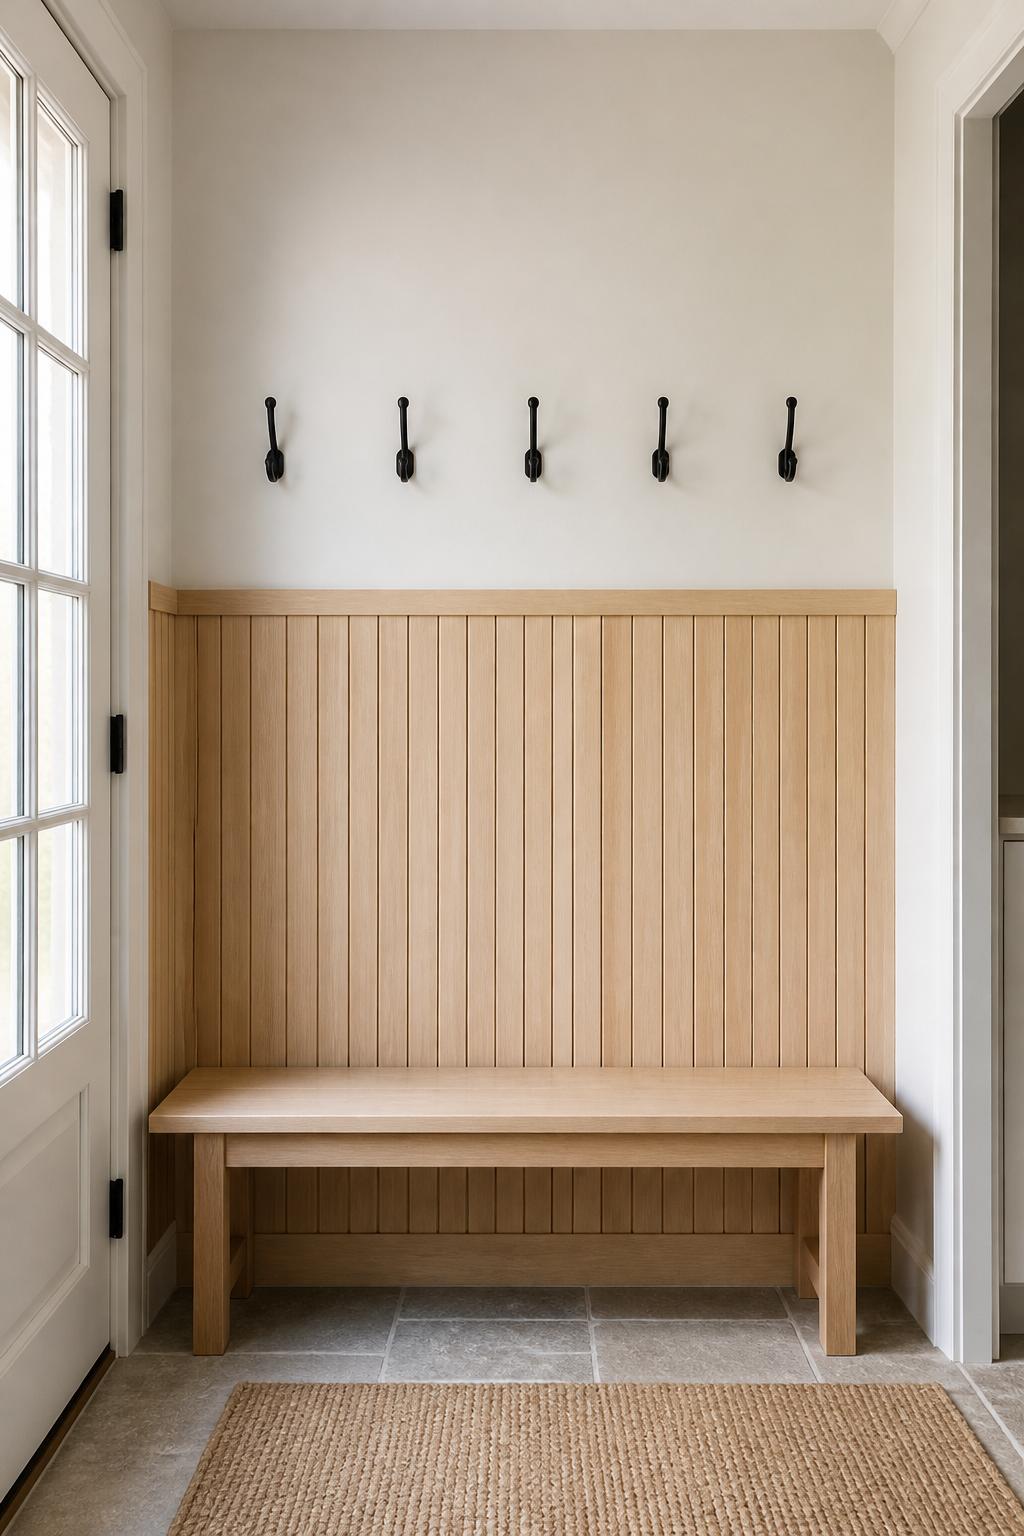
Half-height maple slats line the lower mudroom wall, with a smooth painted section above. A matching cap rail creates a tidy stopping point, while black hooks and a plain bench establish an unfussy farmhouse look.
Place the cap rail about 48 inches above the floor. Screw coat hooks through the upper painted section into a horizontal backing board fastened to studs, rather than into drywall alone.
9. Arrange Oak Strips in Chevron Sections
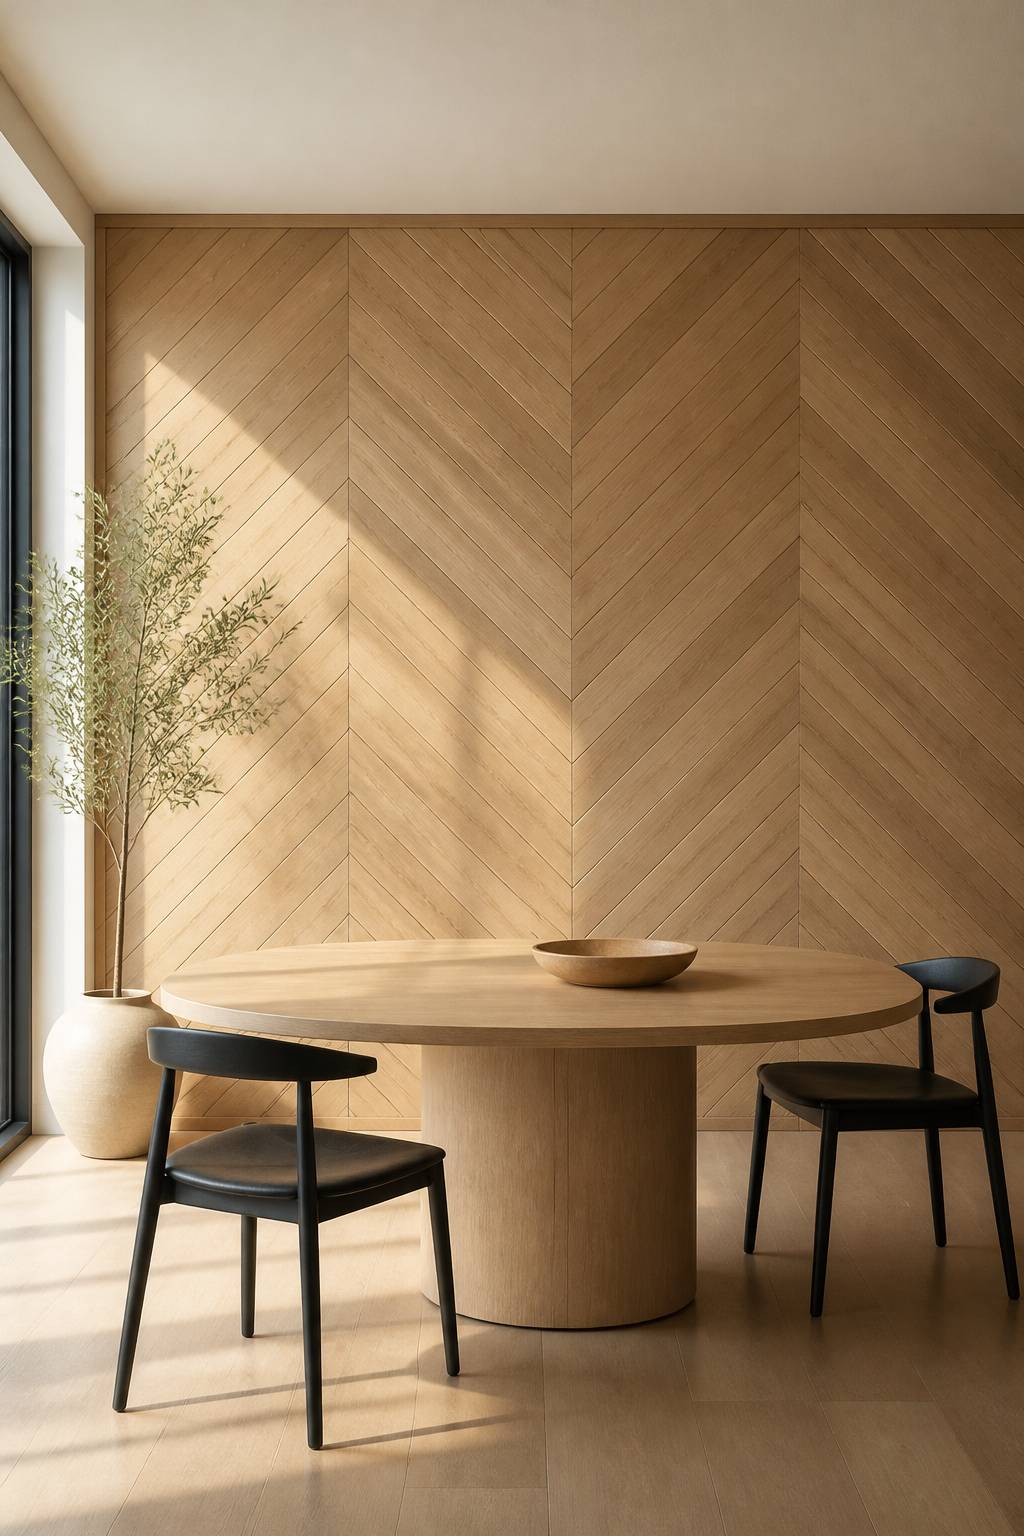
Chevron oak strips create movement across a dining room wall, with angled grain meeting in crisp points. The pattern has more energy than straight slats, while a single natural finish prevents the backdrop from becoming visually busy.
Mark a level centerline first, then dry-fit one complete chevron on the floor. A miter saw set to 45 degrees produces matching ends for a symmetrical right-angle pattern on the wall.
10. Pair Blonde Slats With Terracotta Backing
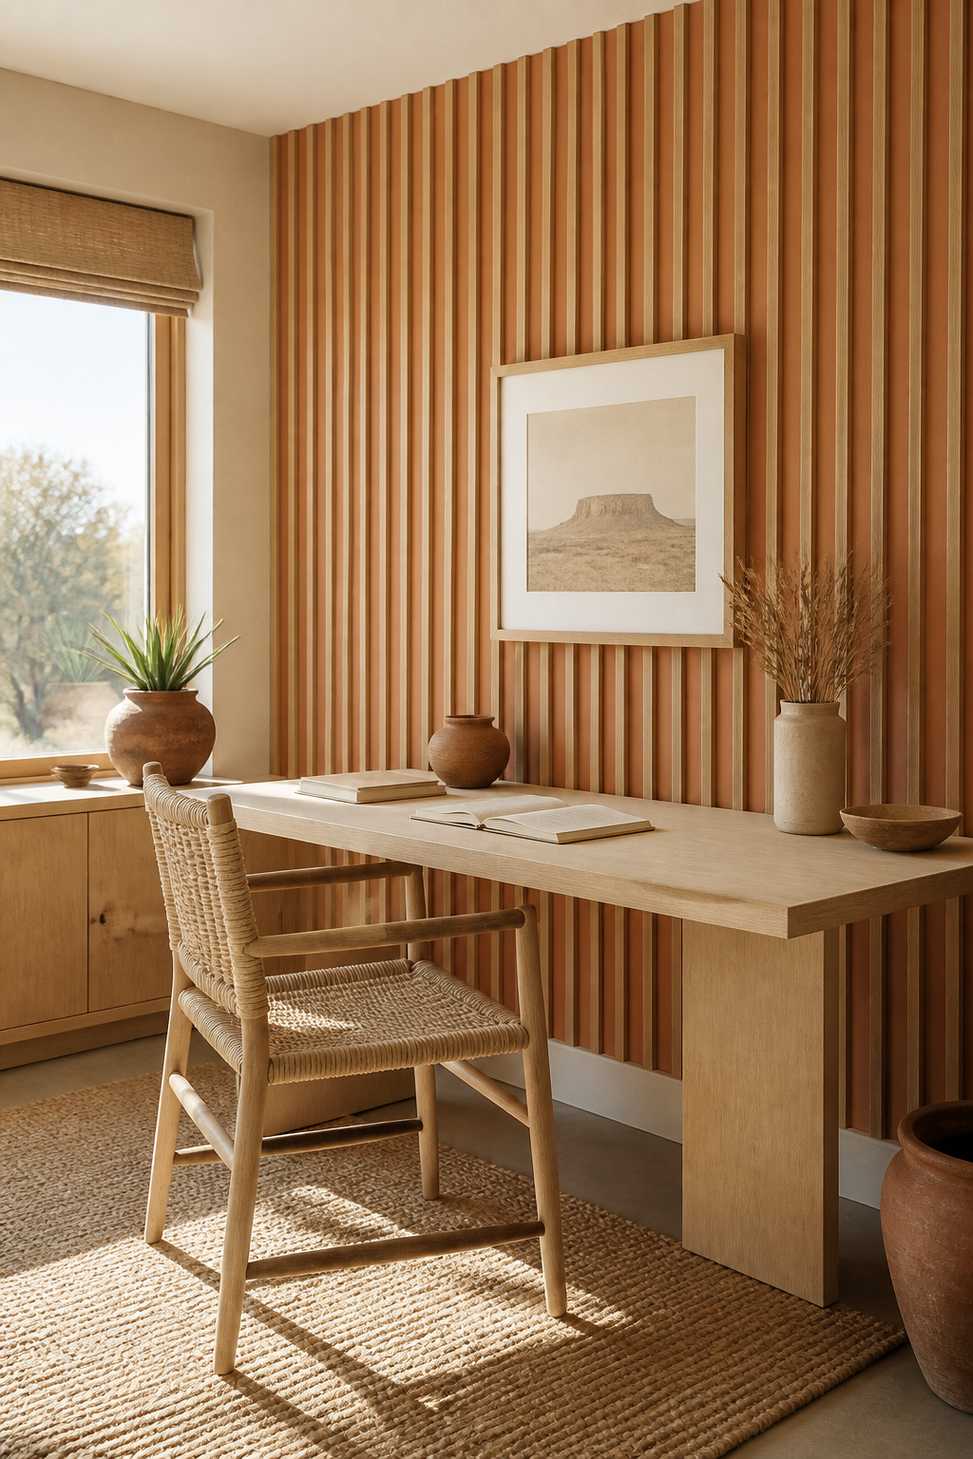
Terracotta paint peeks between blonde wood strips, replacing the usual black gaps with an earthy glow. Across a home office wall, the combination balances clean Scandinavian lines with the sunbaked color of a Southwestern interior.
Paint the entire backing wall before installing any strips. Test the color behind three loose slats first, because narrow gaps reveal less paint than a full wall swatch suggests at first.
11. Recess Slats Inside a Wall Niche
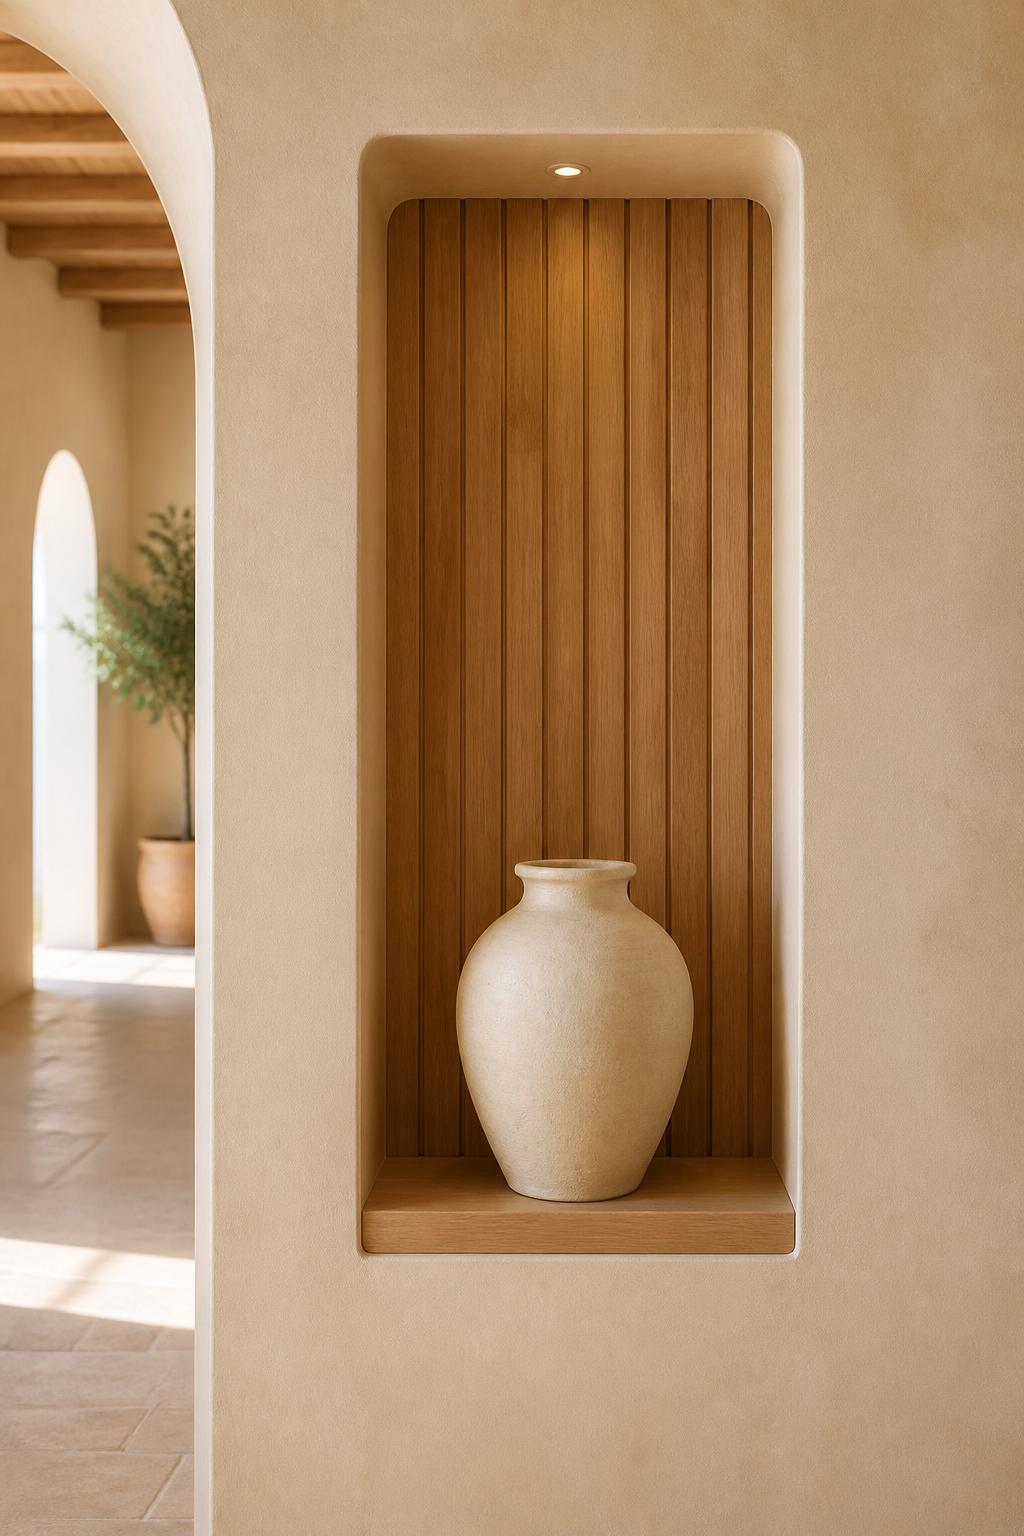
Slim oak strips line the back of a shallow wall niche, giving its contents a textured setting. One chalky ceramic vase stands out against the grain, and the surrounding plaster frames the wood as a contained detail.
Measure the niche at the top, middle, and bottom before cutting. Older openings often taper, so use the narrowest width and center the slat arrangement within that measurement for even margins.
12. Angle Stairway Slats Along the Ceiling
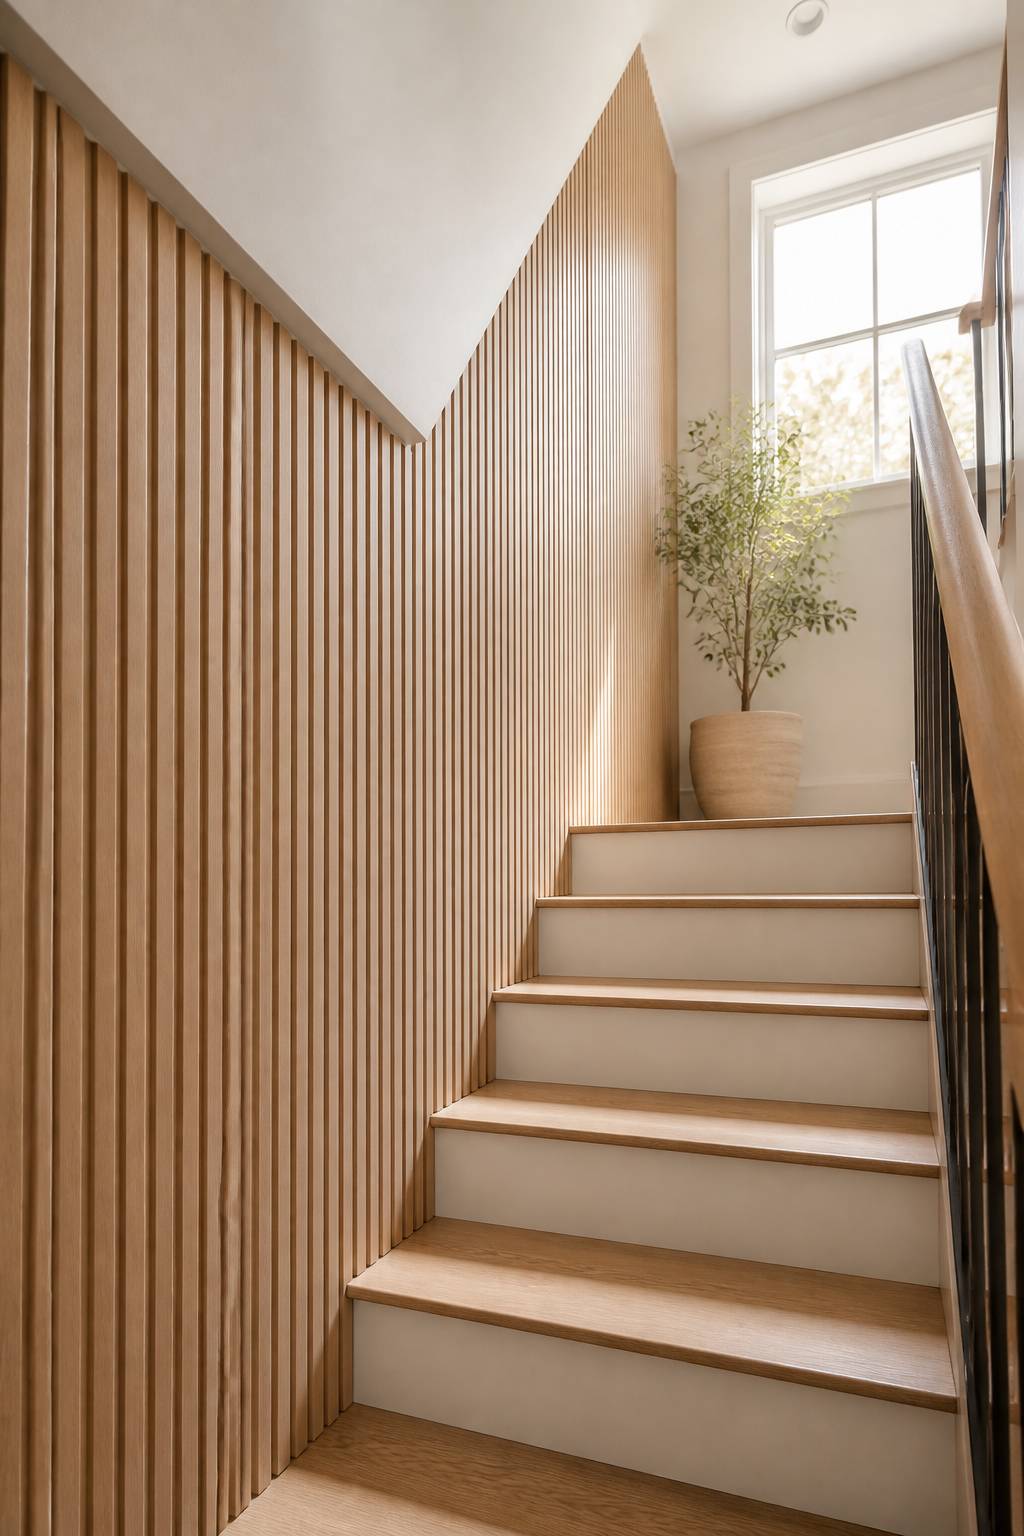
Vertical white oak slats meet the angled ceiling above a staircase, tracing its slope with individually cut tops. The repeated uprights connect the stair run to the upper landing, emphasizing the home’s height and unusual geometry.
Use a sliding bevel gauge to copy the ceiling angle onto each strip. Measure every length separately from a level baseline, since plaster ceilings can vary along the same slope.
13. Highlight Slat Texture With Grazing Light
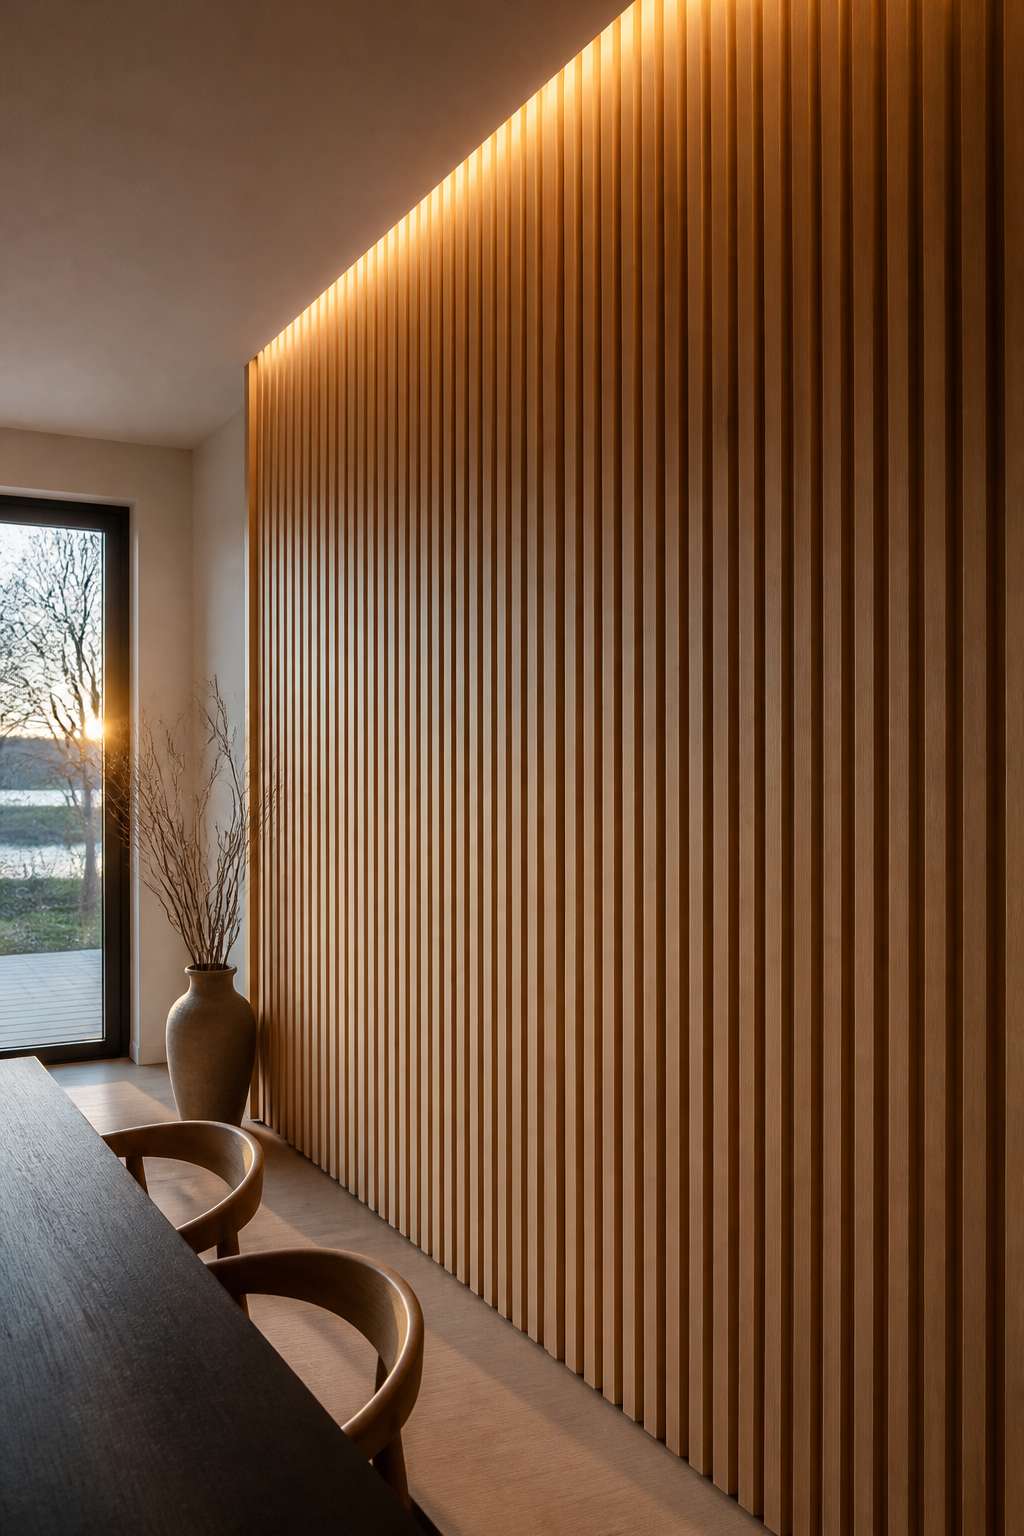
A concealed light channel washes down a natural oak slat wall, deepening every groove after sunset. In a dining room, that glow emphasizes texture rather than decoration, leaving the wall itself as the main evening feature.
Position an aluminum LED channel two to three inches in front of the slat faces. A removable top valance conceals the channel while preserving access to its diffuser and wiring.
14. Mount Removable Slats Behind Your Desk
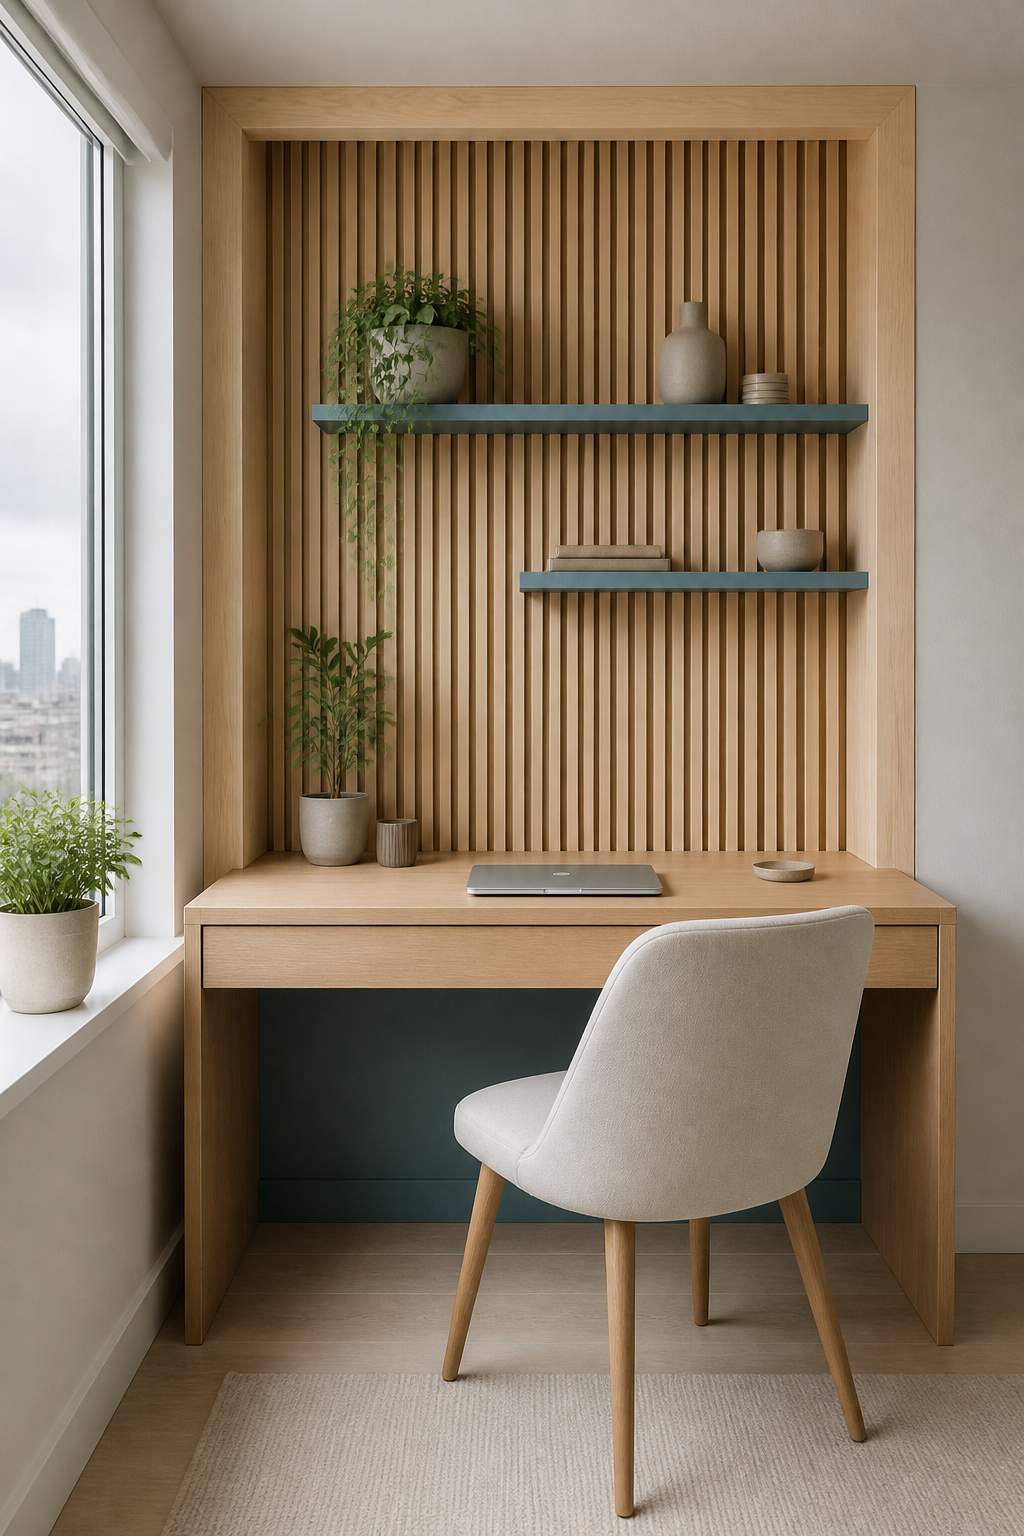
A framed plywood panel faced with narrow pine slats sits behind a compact desk, resembling a large piece of architectural artwork. Its contained edges work especially well in an apartment office where full-wall paneling seems excessive.
Attach the slats to a half-inch plywood backer, then hang the assembled panel from a cleat screwed into studs. The panel lifts off later, leaving only the cleat’s screw holes.
15. Clad a Powder Room’s Dry Wall
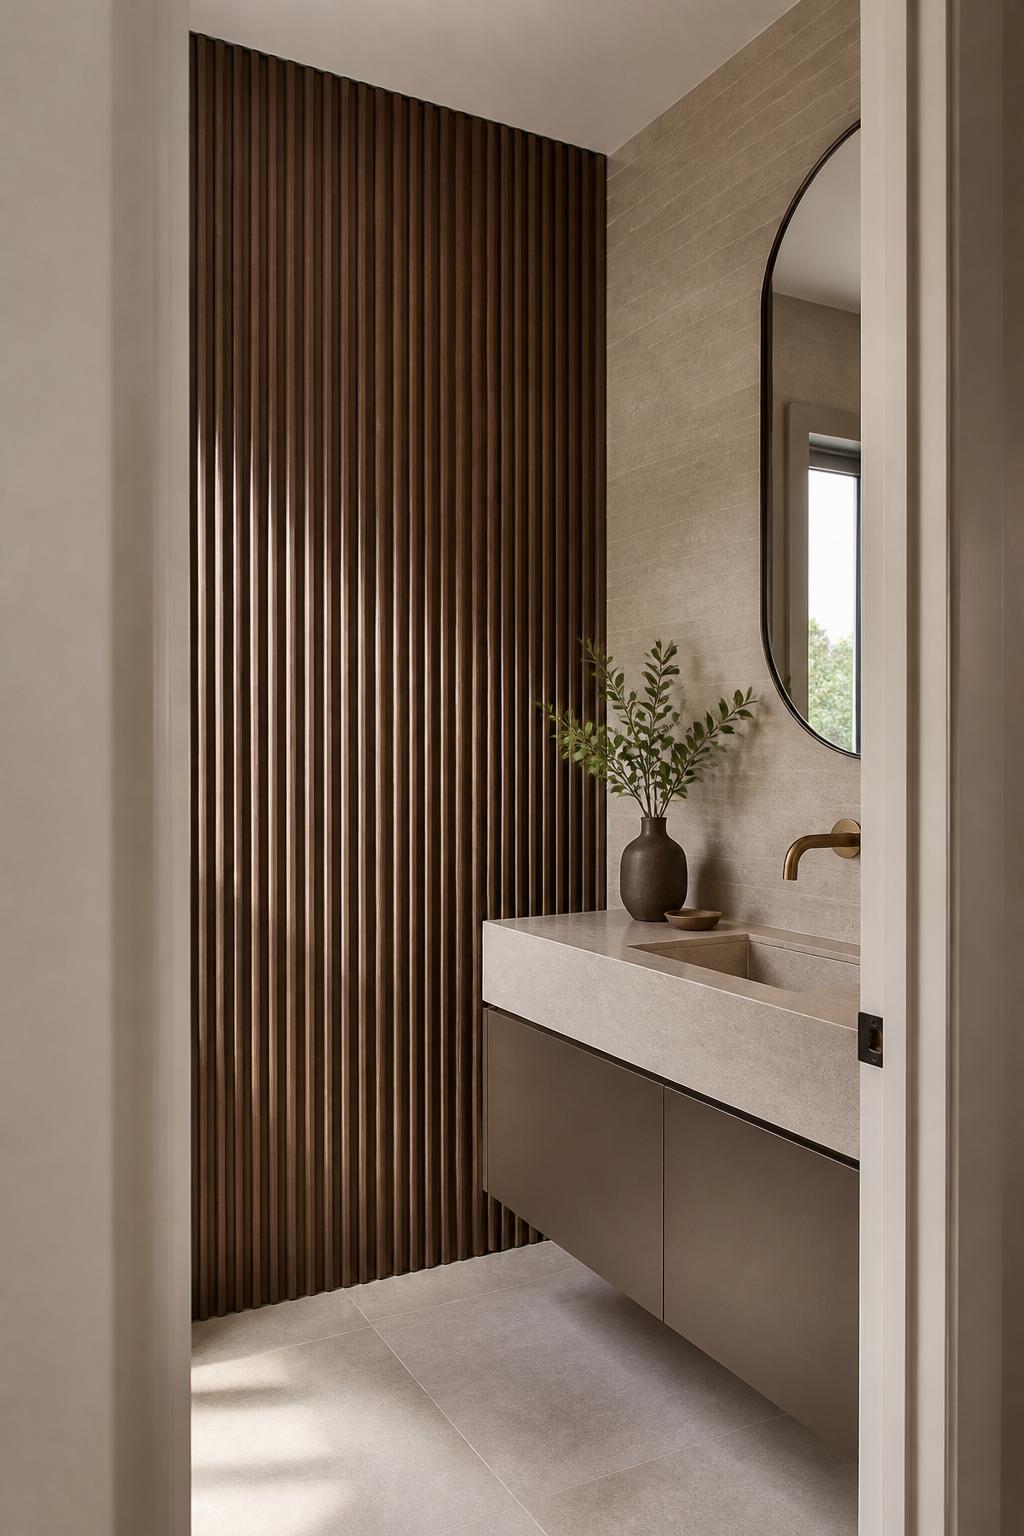
Smoked oak slats cover the wall opposite the sink in a small powder room, introducing depth beside pale stone tile. The dry-side placement allows the wood to remain a decorative accent rather than a splash-catching surface.
Seal the front, back, and cut ends before installation. Reserve this treatment for the wall away from the faucet, and leave the sink backsplash tiled so routine splashes land on tile.
16. Mix Two Slat Widths for Rhythm
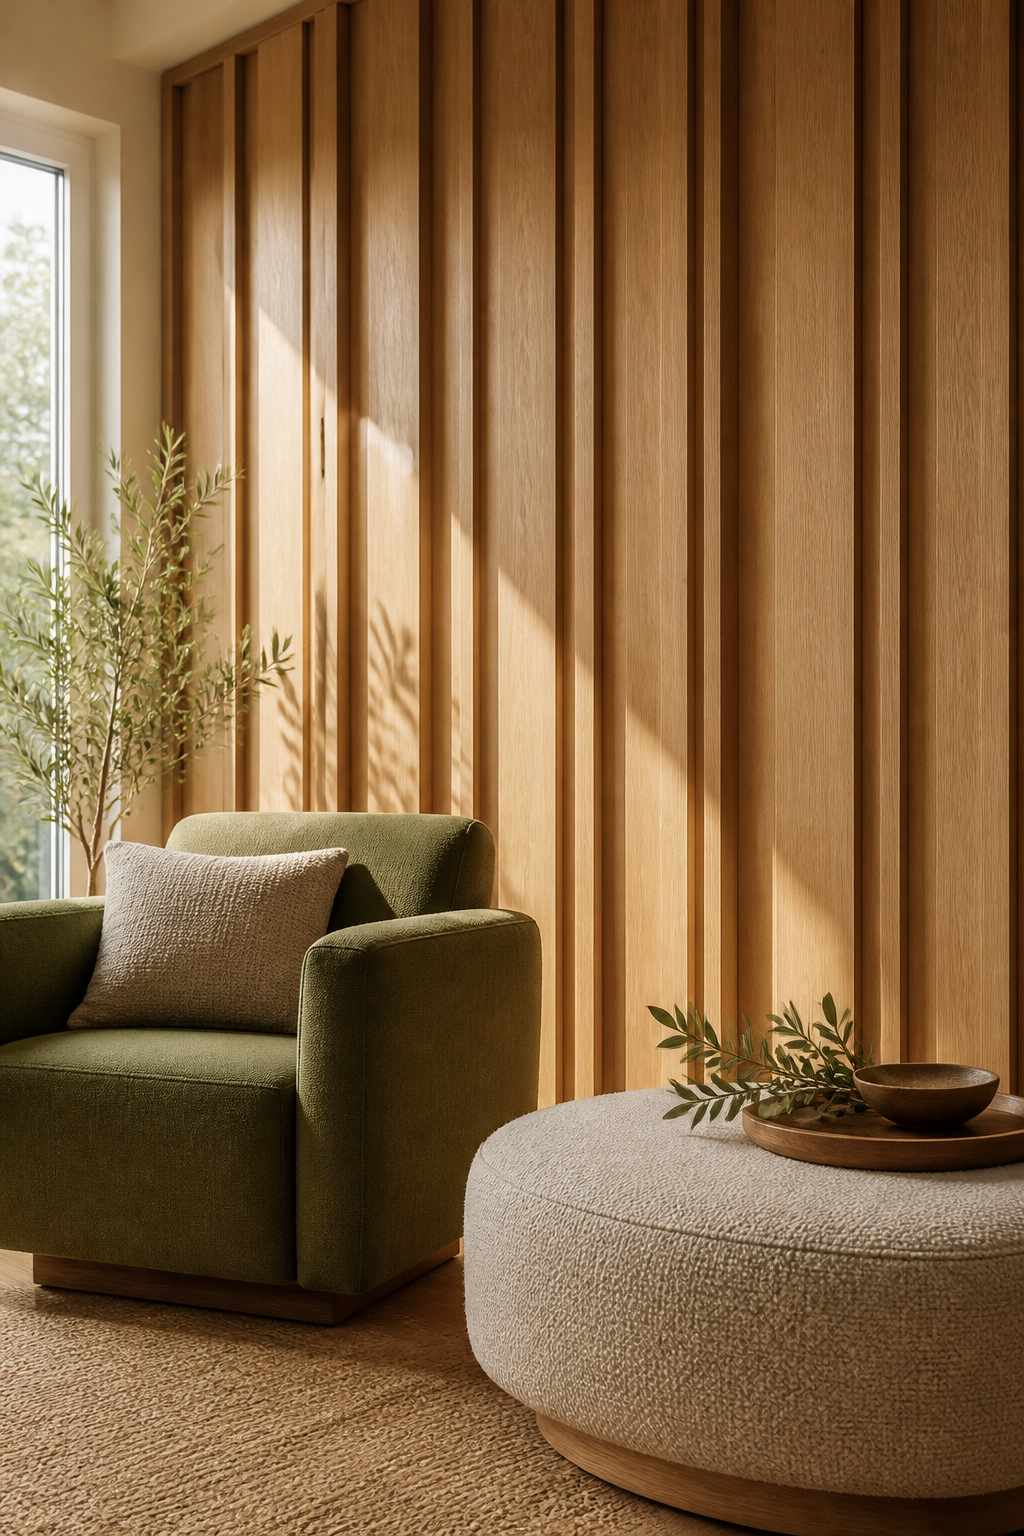
Alternating narrow and wide oak strips breaks up the uniformity of a living room feature wall. The shared finish holds the pattern together, while changing widths suggest custom millwork rather than a repeating panel bought whole.
Try alternating nominal one-by-two and one-by-three boards, which typically measure 1½ and 2½ inches wide. Maintain the same half-inch gap throughout so the width changes look intentional rather than accidental.
17. Contrast White Slats With Navy Walls
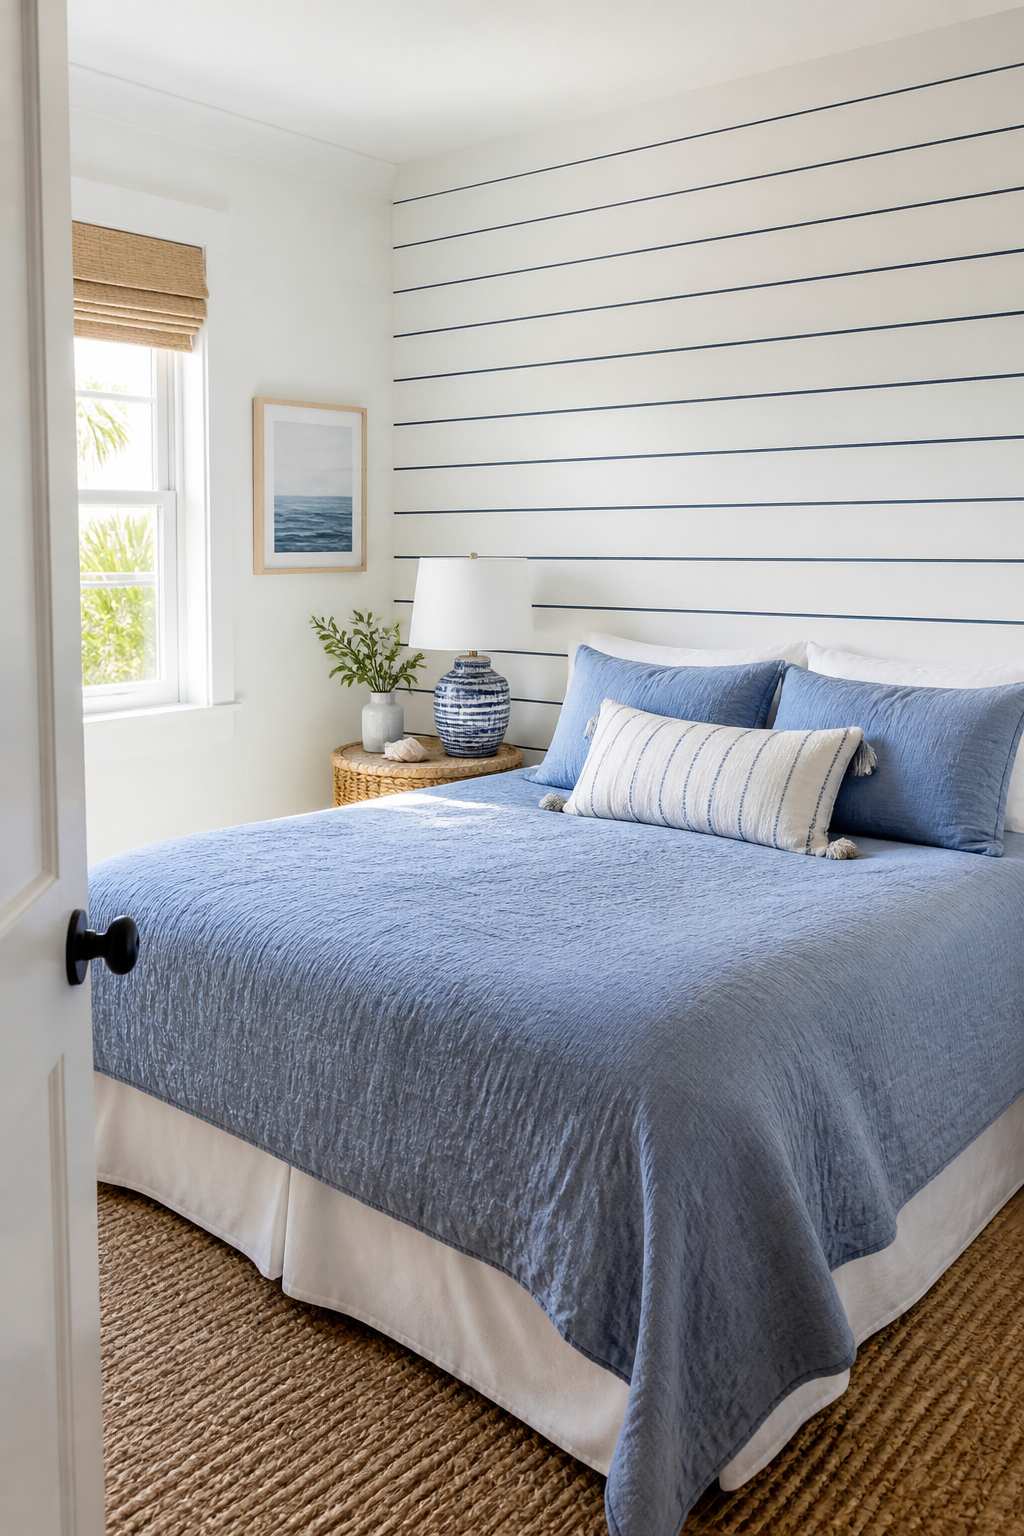
White-painted slats stand out against a navy blue guest room wall, creating crisp stripes with a coastal edge. The painted wood reads lighter than natural timber, especially alongside chambray bedding and a simple woven bedside stool.
Use a washable satin finish on the strips and matte paint on the backing wall. The difference in sheen distinguishes the raised wood even when daylight falls flat across the surface.
18. Reuse Weathered Boards in a Sunroom
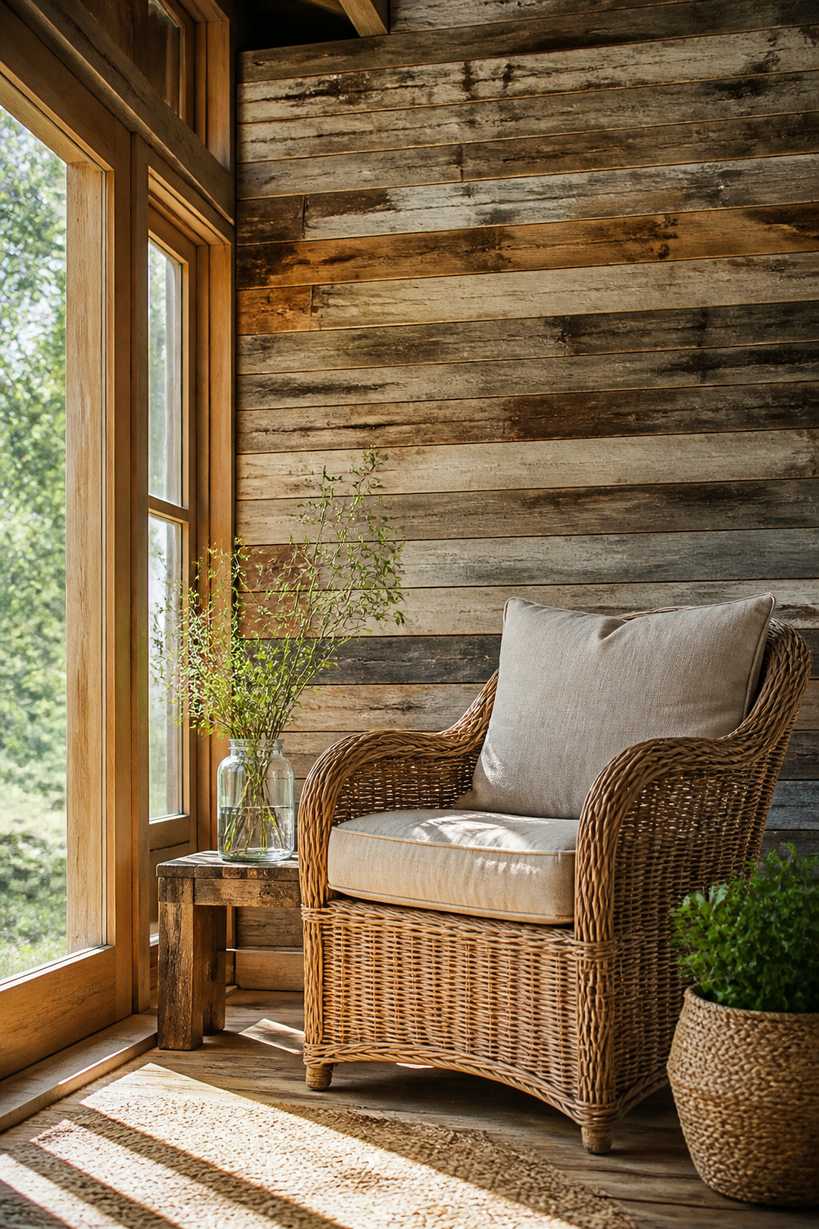
Weathered wood strips create a rustic sunroom wall, mixing faded brown, silver, and honey tones. Their uneven coloration echoes older porch furniture, while consistent spacing prevents the reclaimed surface from looking overly patchy or improvised.
Choose reclaimed boards with known, unpainted origins, then remove nails and rip them to equal widths. Dry-fit the color arrangement on the floor before attaching strips to the sunroom wall.
19. Tuck Shelves Between Matching Wood Slats
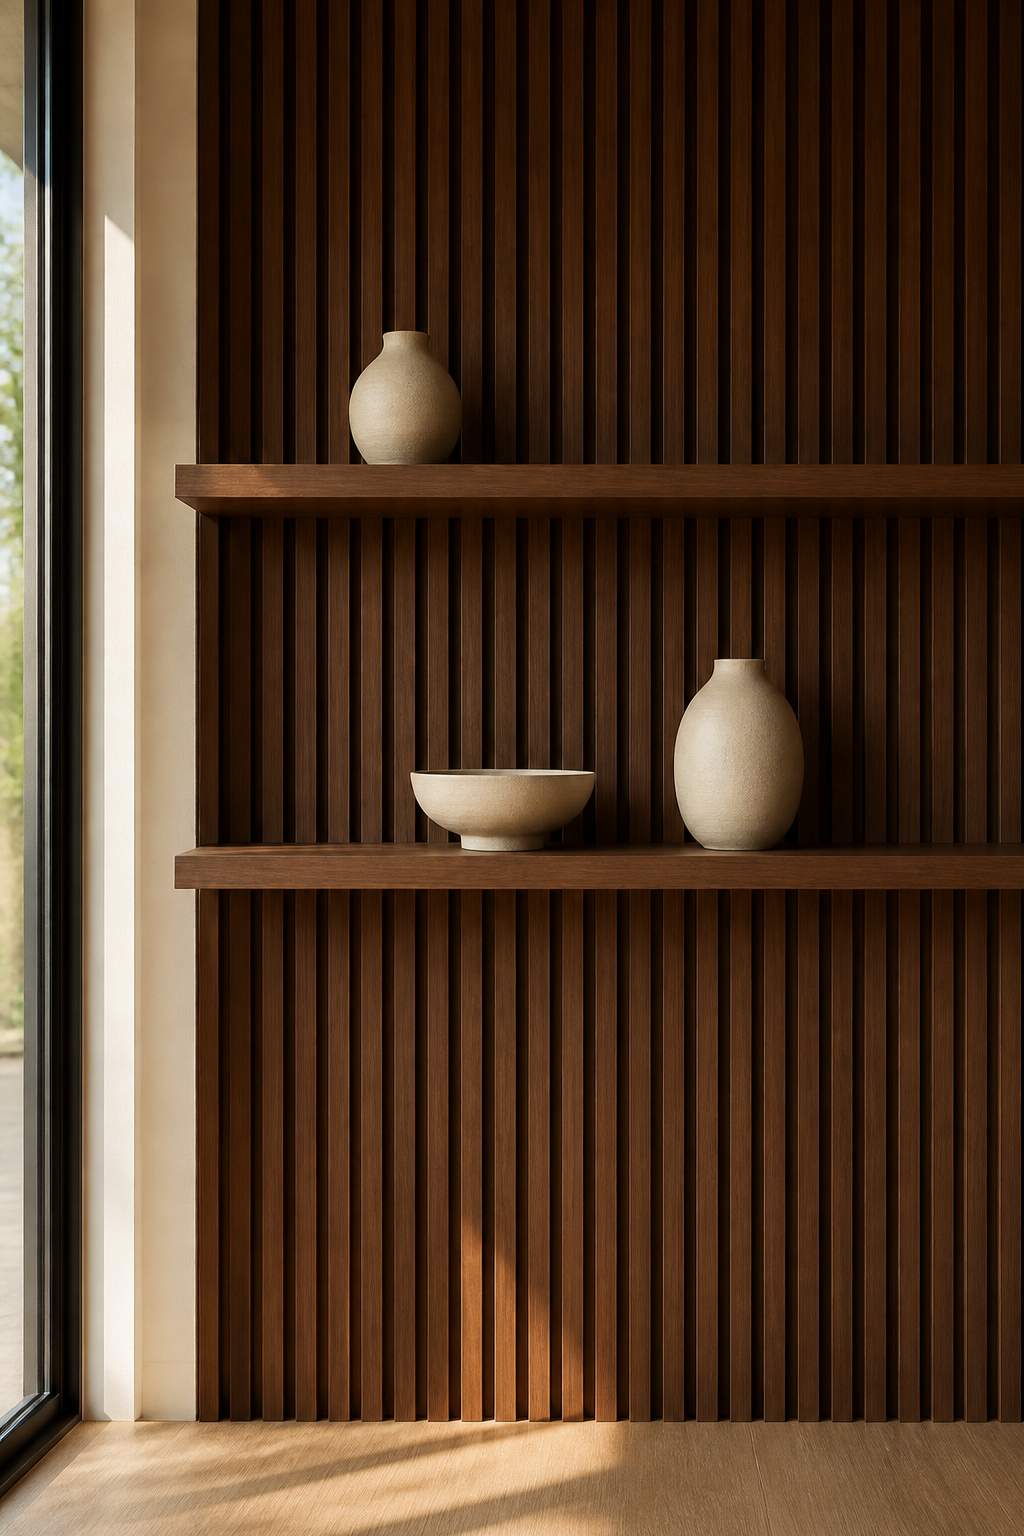
Walnut shelves interrupt a matching slat wall in a small study, creating horizontal pauses across the vertical grain. A few cream pottery pieces stand against the dark wood, leaving enough empty surface for the pattern to register.
Install shelf blocking before the slats cover the wall. Cut the strips to stop above and below each shelf, so shelf brackets fasten against solid backing rather than uneven decorative faces.
20. Create an Arched Slat Wall Panel
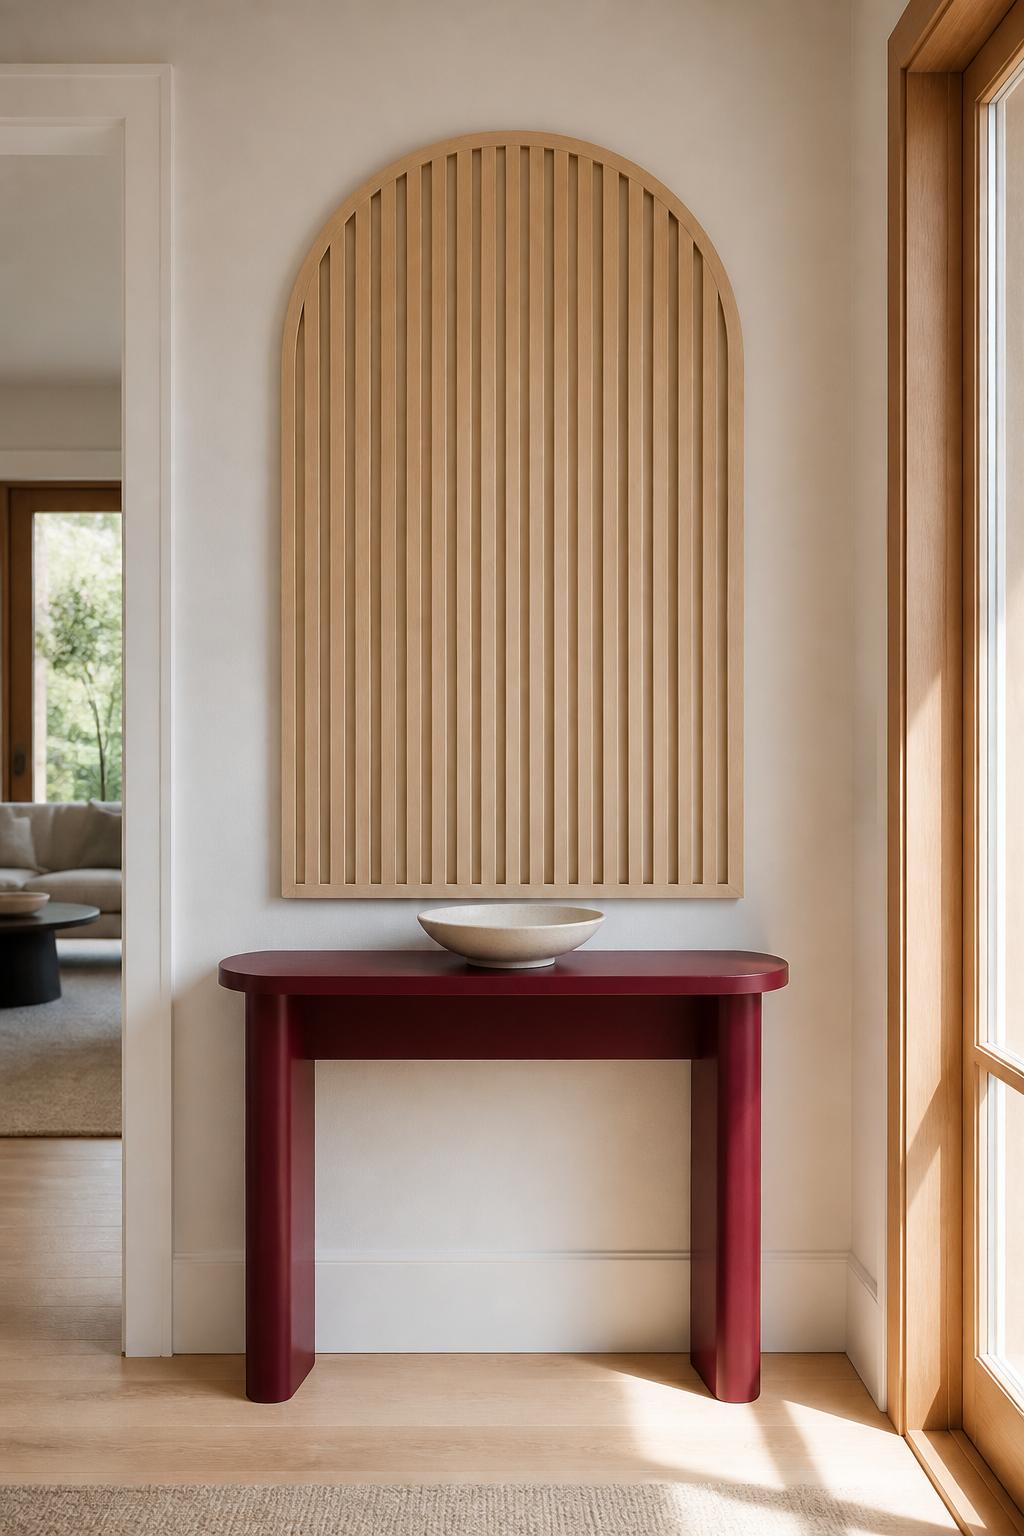
An arched maple slat panel rises behind a hallway console, combining a rounded outline with straight wood lines. The pale finish and curved top soften the rectangular furniture below, producing a focal point with a playful modern profile.
Draw the arch on a plywood backer using a string compass, then cut it with a jigsaw. Attach slats with overhanging ends and trim them flush to the curved backer.